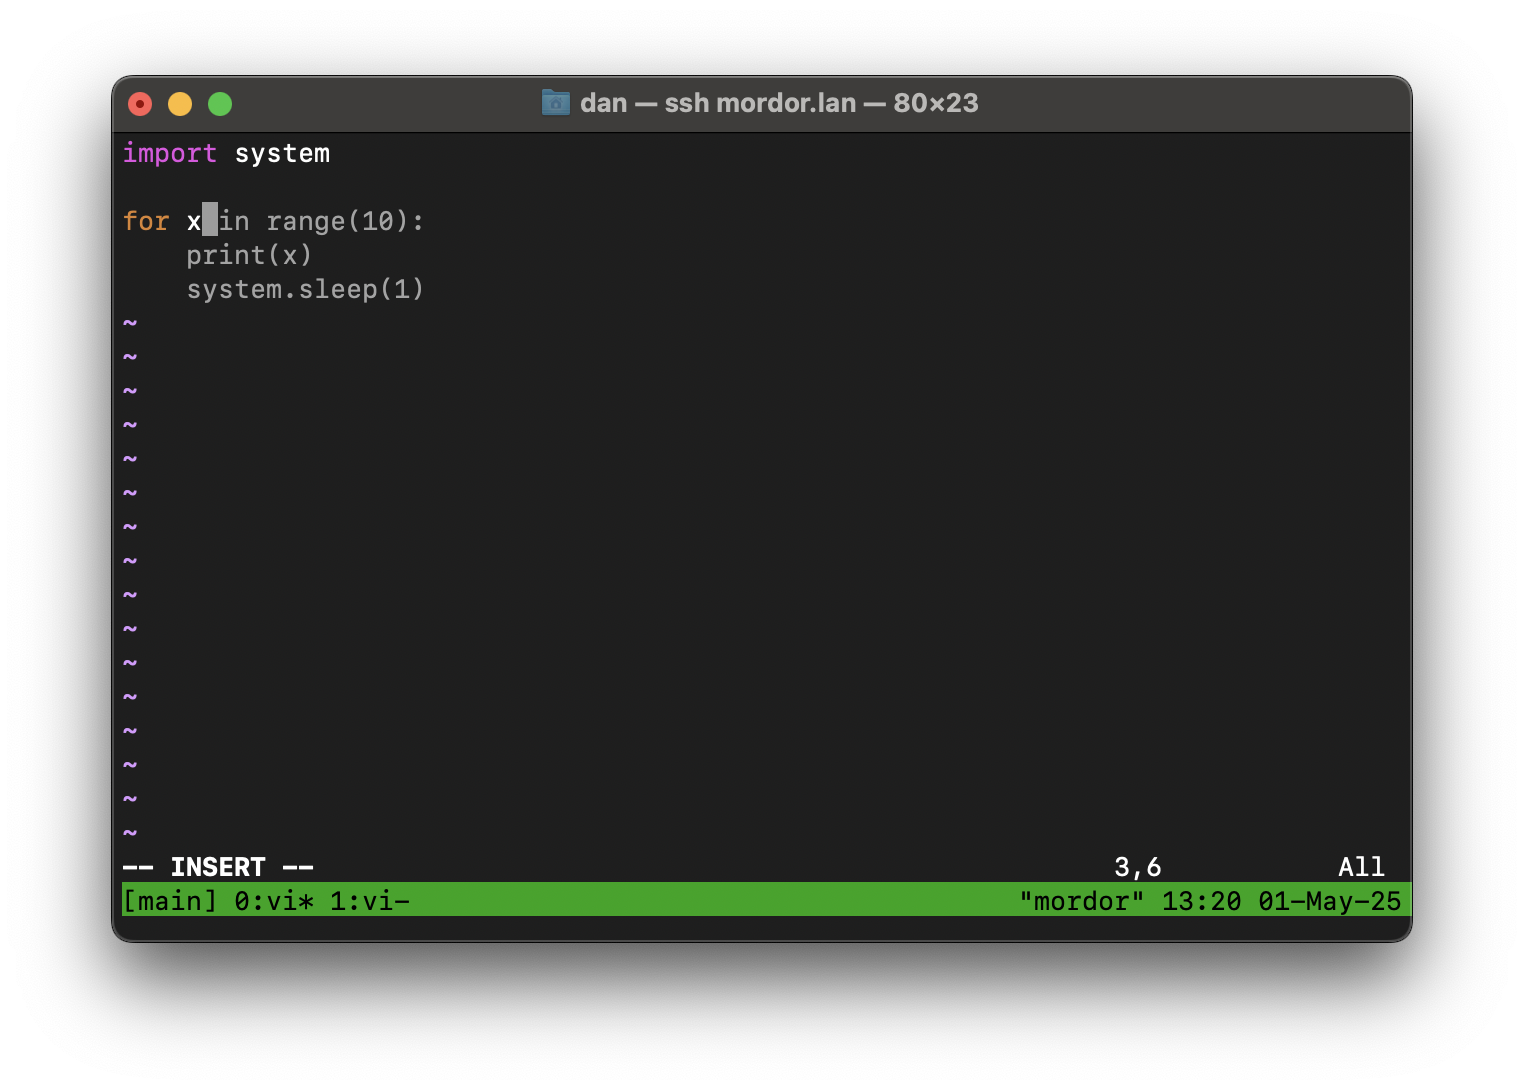
Why Use Copilot in Vim?
As someone who frequently switches between scripting languages, I often need quick syntax reminders. I’d used GitHub Copilot in VSCode before and found it incredibly helpful. However, I prefer working in Vim, especially because it lets me stay in the terminal and keep my hands on the keyboard.
I wanted to bring the benefits of Copilot—AI-assisted code suggestions—into my Vim workflow to combine efficiency with smart assistance. This article assumes you are functional in Vim, if not please check out this starter guide.
Prerequisites
To follow this tutorial, you’ll need:
- A modern Linux distribution — I’m using Raspberry Pi OS (November 2024 release), based on Debian 12. These steps should work on most distros.
- Vim version 9.0.0185 or later — installable via your package manager or from source.
- Node.js version 20.0.0 or later — required for the Copilot plugin.
Step 1: Install Node.js
The version of Node.js in Raspberry Pi OS’s package manager is outdated (v18). To get a newer version, install Node.js using nvm (Node Version Manager):
curl -o- https://raw.githubusercontent.com/nvm-sh/nvm/v0.40.3/install.sh | bash
\. "$HOME/.nvm/nvm.sh"
nvm install 22
This installs Node.js version 22 and ensures it's available in your shell environment.
Step 2: Install the Copilot Plugin
With Node.js ready, you can now install the GitHub Copilot plugin for Vim by cloning it into your Vim plugin directory:
git clone https://github.com/github/copilot.vim.git \
  ~/.vim/pack/github/start/copilot.vim
This will install the plugin in the correct location for Vim to load it automatically.
Step 3: Set Up and Use Copilot
To enable Copilot, open Vim and run:
:Copilot setup
This command will generate a device code and prompt you to authenticate with GitHub. Follow the link below and enter your code:
👉 GitHub Device Authentication
Once authenticated, Copilot will be active in Vim. Start typing, and it will suggest code completions. You can:
- Accept a suggestion with
TaborEnter - Cycle through suggestions with
Ctrl + ]andCtrl + [
